How do you make video look like film?
We have completed post production on our new feature documentary Finding Fatima.
This project was made over 8 months and filmed in both the UK and Portugal. Because this is more of a doc drama we decided that it was important that it has a high end film look, this allowed us to distinguish it from other documentaries by making it visually unique and as the initial route to market is through DVD sales it needed to be a product that would stand up to other studio productions released around the same time.
This is how we did it:
Each shot is story boarded allowing us to work out character placement, lighting and view the scene as an entire sequence.
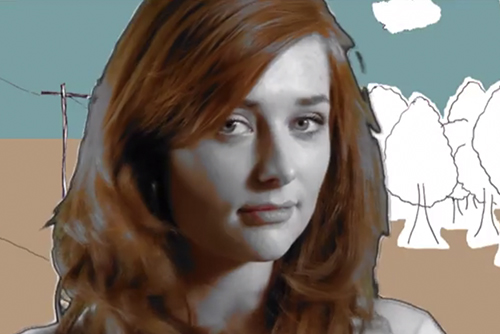
A lot of the re-enactment scenes were filmed using a green screen. This allows us to have complete control over the weather and can dramatically reduce the budget. It allows the film maker to put the subject in any environment that you want and with some good keying software and the ability to digitally generate backgrounds can look incredibly effective. If you are looking to film with green there are a couple of things which you should be aware of
1. lighting the character – make sure that you have a good idea of what the scene will be like that you are putting the character into. That way when you are lighting the character you know which direction the main source of light will be coming from and allow you to match the lighting in production, instead of having to go digitally change it in post.
2. Lighting the green screen – Obvious but, make sure the green screen is evenly lit, especially if there is going to be a lot of movement.
3. Cameras – HD cameras are better than SD cameras for green screen, obviously depending on the make. One thing to remember is to expose for the subject not a balance between the green screen and the subject.
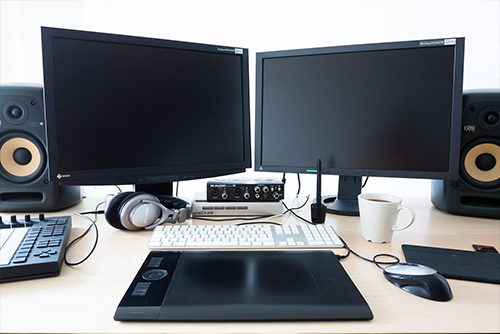
Once we had completed the production stage it was a matter of putting the film together for the offline edit, when grading a film its important to initially create the offline edit so that you don’t waste time and effort grading images that will end up on the cutting room floor, or nowadays in the desktop trash.
The on-line edit is where you look to grade the image. Digital grading is the post production process of manipulating the image to give it a more unique / film look. By utilizing post production software you are able to change lighting, colour, tone even parts of the image so that you are essentially, as the directors of the film say, ‘painting with pixels.’